#Before using a remote tool
#Status, clock and storage
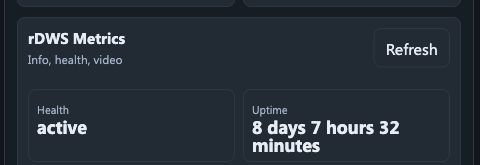
| Tool | Use it to |
|---|---|
| Status | Refresh the available player summary |
| Clock | Compare player time with the expected local time |
| Timezone | Review or apply the approved timezone |
| Storage | Check whether limited device space may affect playback |
A timezone change may require a reboot before every application reflects it. Schedule that reboot rather than surprising viewers.
#Snapshot and ping
- 1Player heading
Read the player name again. This check runs on that player only.
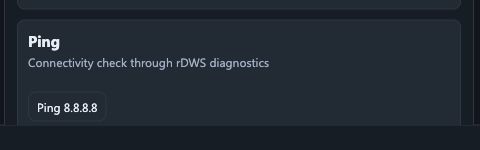
- 2Ping 8.8.8.8
Press the button once. Do not click repeatedly while it is working.
- 3Result
Wait for success, failure or timeout. Copy the exact result and time if it fails.
- Use a snapshot to confirm visible output without starting continuous video.
- Treat an old or blank snapshot as evidence to investigate, not proof of a single cause.
- Use ping or a lightweight status refresh to test responsiveness before rebooting.
- Capture only what is required for support and follow your organisation's screen-content privacy rules.
#Player logs
- 1Reproduce the issue once if doing so is safe.
- 2Refresh the player log view.
- 3Match messages to the reproduction time.
- 4Copy only the minimal relevant, non-sensitive lines into an escalation.
- 5Record the player label and the time separately.
#Liveview
- 1Player heading
Confirm the player name before opening the viewer.
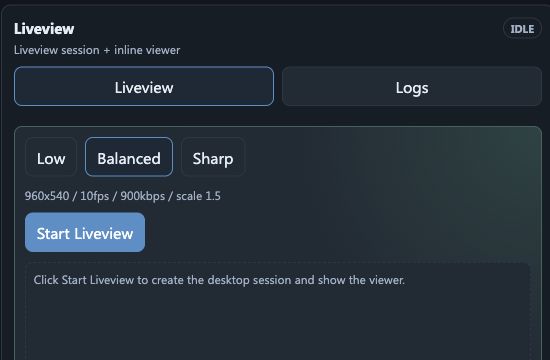
- 2Balanced
Choose Balanced first. Use Sharp only when you must read small detail.
- 3Start Liveview
Press once, then wait. Starting can take a moment.
- 4Viewer
Check only what the task requires. Do not copy private screen content.
- 5Stop
End the session when the visual check is complete.
Liveview provides a continuous remote view when the player and organisation support it. Start one session, wait for its connection state and close it when the check is complete.
| State | Operator response |
|---|---|
| Starting | Wait; do not click repeatedly |
| Connected | Confirm the intended screen and complete the visual check |
| Direct | The viewing path connected without a relay |
| Relay | The viewing path connected through an approved relay |
| Failed | Capture the message and try a snapshot before escalating |
#Reboot only when justified
- 1Record the pre-reboot symptom and time.
- 2Confirm the player identity and location.
- 3Issue one reboot and wait for the player to return.
- 4Verify fresh activity and expected playback.
- 5Escalate if it does not return within the normal site window.